10 Ways to Prepare for Your First Backpacking Trip
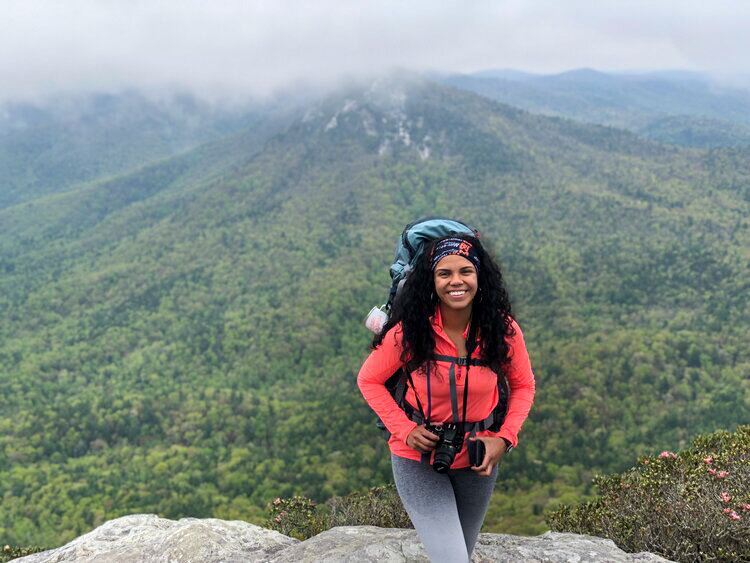
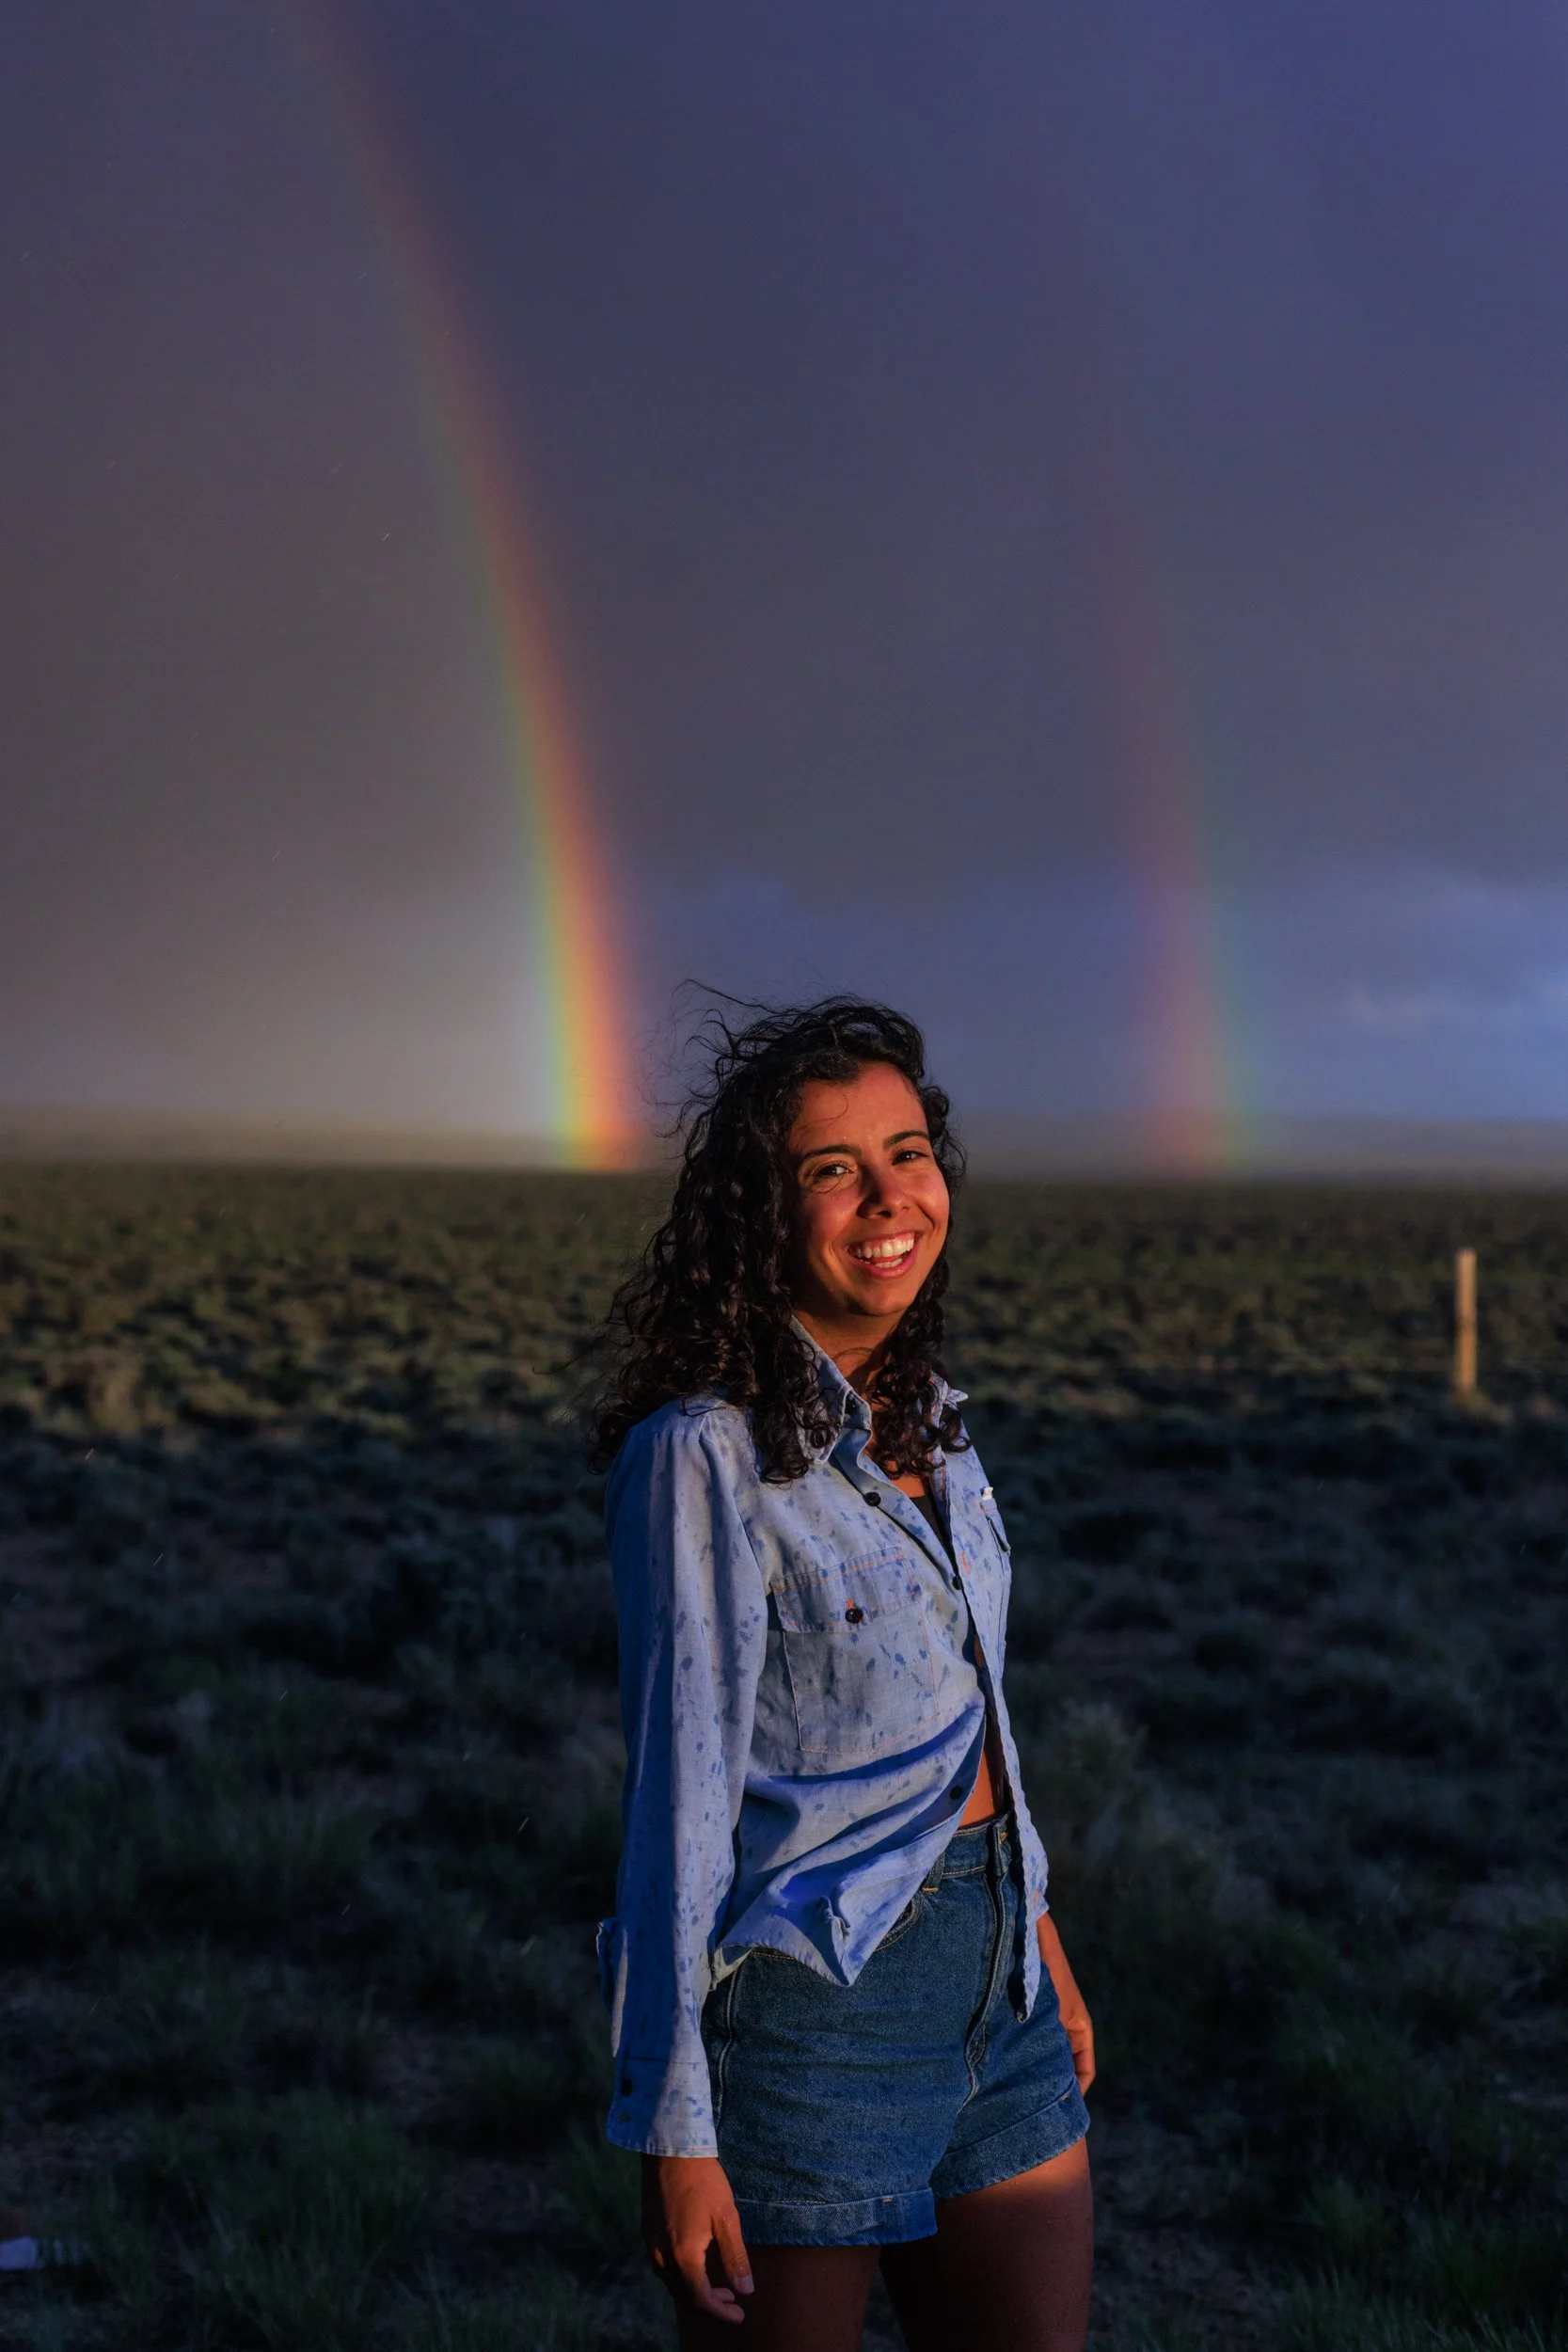
The author poses for a photo on occupied Eastern Band Cherokee lands, known to some as the Linville Gorge Wilderness (Photo courtesy of Laura Phillips).
Picture yourself sleeping under the stars and waking up at dawn to a kaleidoscope of colors as you have your morning coffee. No one else is there except for maybe your hiking partner or pup. You made it this far—to a remote area in the backcountry, where you now get to enjoy a meal around a campfire and fall asleep to the brightest night sky you’ve ever seen in your life—far from the city where you live and work.
These are some of the reasons why I got into backpacking. I wanted to be fully immersed in the backcountry and interact with the land in a deeper way.
I grew up in a working class community in Florida, not far from the ocean. My family didn’t go camping or hiking. I wasn’t enrolled in Girl Scouts or any other outdoor program. So everything I know about backpacking I learned as an adult. I totally understand how overwhelming it can be to try to do this, especially if you are someone like me with no experience. It isn’t easy to try something new, especially when you are a Black, Indigenous, Person of Color (BIPOC) trying to enter a community which has become centered around the experiences of white people.
Should you feel discouraged it may help to remember that our BIPOC ancestors thrived in nature for thousands of years, long before Europeans colonized our lands globally. Loving the outdoors isn’t “acting white,” it’s rejecting white supremacy and the belief that the outdoors belongs to white people. You belong there too.
So here are a few suggestions for how you can get outside safely this summer. Backpacking is for everyone. Just never forget, you are on Native land.
Know whose ancestral lands you are backpacking on
Become familiar with reading maps and using a compass
Get a first aid kit
Protect yourself
Let’s talk gear
Weight and space
Practice wearing your pack
Make your first backpacking trip a fun experience
If you accidentally walk off the trail, it’s okay. Take a deep breath and retrace your steps
Be proud of yourself
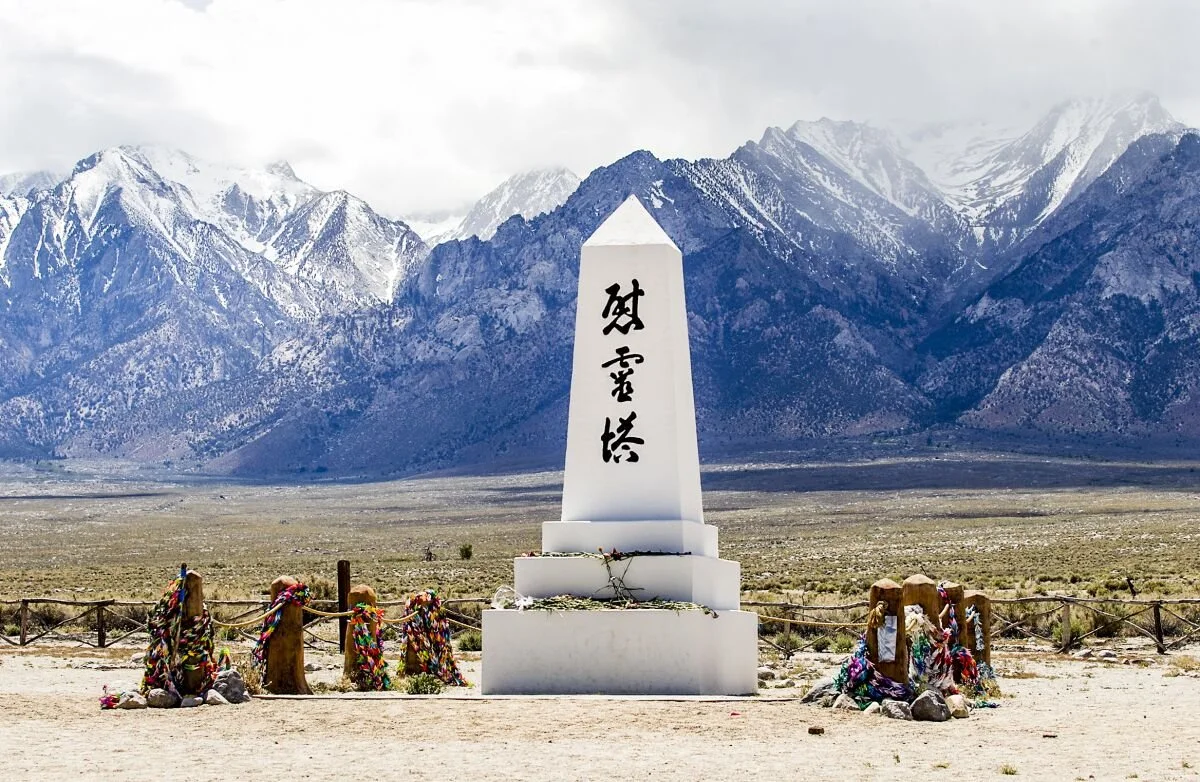
1. Know whose ancestral lands you are backpacking on
Unless you are native to the land you are backpacking on, you are directly benefiting from the removal of indigenous people from their land. I make it a point to research whose ancestral lands I am backpacking on and to actively uplift indigenous communities, community organizers. Don’t forget to support Indigenous businesses as well. Despite what we may have learned to sing in elementary school, this land wasn’t made for you and me. This land is Native land and it is vital that we honor Native culture, knowledge and people as protectors of the world’s ecosystems and biodiversity.
2. Become familiar with reading maps and using a compass.
Knowing how to read a map is super important because in the backcountry you likely won’t have a cellular signal to help you navigate. None of us want to get lost, so this is definitely a great skill to develop. Additionally, you will want a compass to help you stay on course since the trail may not be easy to find.
Not all maps are created equal…
Some maps will show you specific trails, while others may show an entire national forest along with its topography. As a beginner I recommend first learning how to read a trail map at your local state park, perhaps during an easy day hike.
If you’re planning a backpacking trip, learning how to read a topographical map is an important step. You can download free customizable maps from U.S. Geological Survey or ArcGIS online. These maps typically provide a lot of information including roads, trails, rivers, lakes, buildings, mines and more. They also can help you identify topographic features and elevation by learning how to read contour lines.
There are two types: indexed contour lines are dark and include a number which tells you their elevation above sea level. The lighter colored contour lines that appear in between are called intermediate contour lines. The contour interval is the difference in elevation between each contour line. Learning to read these will help your map come to life!
If your topo map shows contour lines that are spaced closely together, expect steeper terrain. If they are spaced widely apart, expect gently sloping terrain. It also helps to know the major terrain features (e.g. - hill, ridge, valley, saddle, depression, draw, spur, cliff) and what they look like on a topo map. The more practice you get with reading topo maps, the more comfortable you will feel about always knowing where you are. All of this may seem super complicated but it becomes so much easier once you practice. REI Co- Op has two great articles I definitely recommend.

Photo taken by James Moyers on occupied Eastern Band Cherokee Lands, so called Linville Gorge Wilderness
3. Get a first aid kit and make sure it's a nice one
Anyone can get hurt anywhere on the trail. It’s ESSENTIAL that you get a first aid kit, and not a cheap one with just a few bandaids and alcohol pads. You are going to want a decent first aid kit that has all the supplies in case you are severely injured outdoors. Here are some things you may want to have in your outdoor first aid kit. (This is the bare minimum of what you should be carrying with you). Also, don’t wait until someone is hurt to familiarize yourself with the contents of your first aid kid and how to use them!
Butterfly adhesive wound closures/ steri-strips
Moleskin (for blisters)
Alcohol Pads or Hand Sanitizer
Triple Antibiotic Ointment aka Bacitracin/ Neosporin
Trauma Scissors or knife
Gauze/ non-stick sterile pads
Medical Tape- at least one full roll 1 inch thick minimum
ACE Wrap
Tweezers- for splinters and ticks
Rolled Gauze
Benadryl
Intramuscular Epinephrine/ Epi-Pen (If you have a history of anaphylaxis)
Tylenol/ Ibuprofen (for muscle pain)
Antacids/ Antidiarrheal
Hydrocortisone cream (for itching and bug bites)
Emergency Mylar/ Space Blanket (to keep you from getting hypothermia)
Hemostatic Gauze
4. Protect yourself
The beauty of backcountry camping is that it’s remote and there’s a high likelihood you will encounter very few people on the trail. Since the setting can be remote, it's important that you protect yourself in various ways.
Protection from insects
No one wants to spend the whole night scratching their bug bites—its uncomfortable. So please bring insect repellent with you. Protection from ticks is also essential, especially if you are hiking in a densely wooded area. Deer ticks, which are prevalent along the east coast often carry Lyme disease. So please be sure to check your hair and body for ticks. Click on this link to see the CDC’s recommendations for tick removal.
Protection from animals
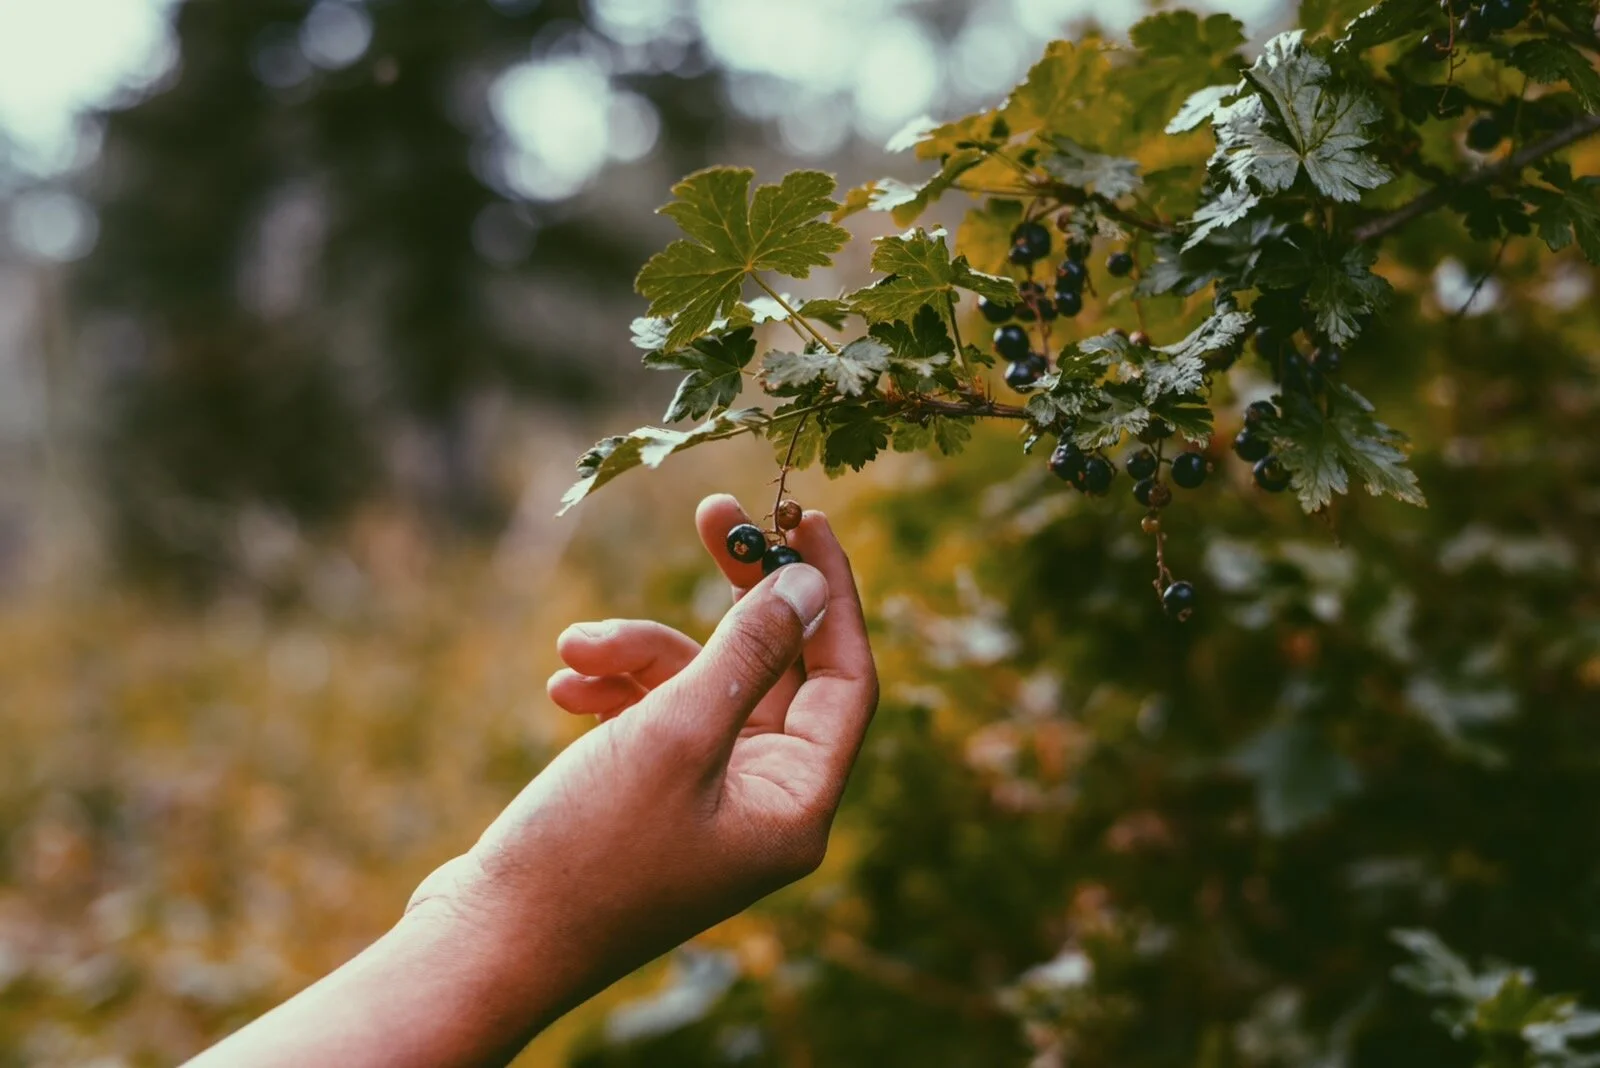
We share this land with all sorts of different animals who don’t need to become habituated to human food. It’s important to know how to protect our food from them. It helps keep them safe and us safe as well. Here in North Carolina, a black bear can sniff out an M&M from half a mile away. One of the best ways to protect your food from animals is to store all of your food in air tight, heavy-duty containers. Most outdoor stores sell various types of hard bear canisters and softer bear bags. Click on this link to see an article and video that I found super helpful when I was looking for appropriate food storage.
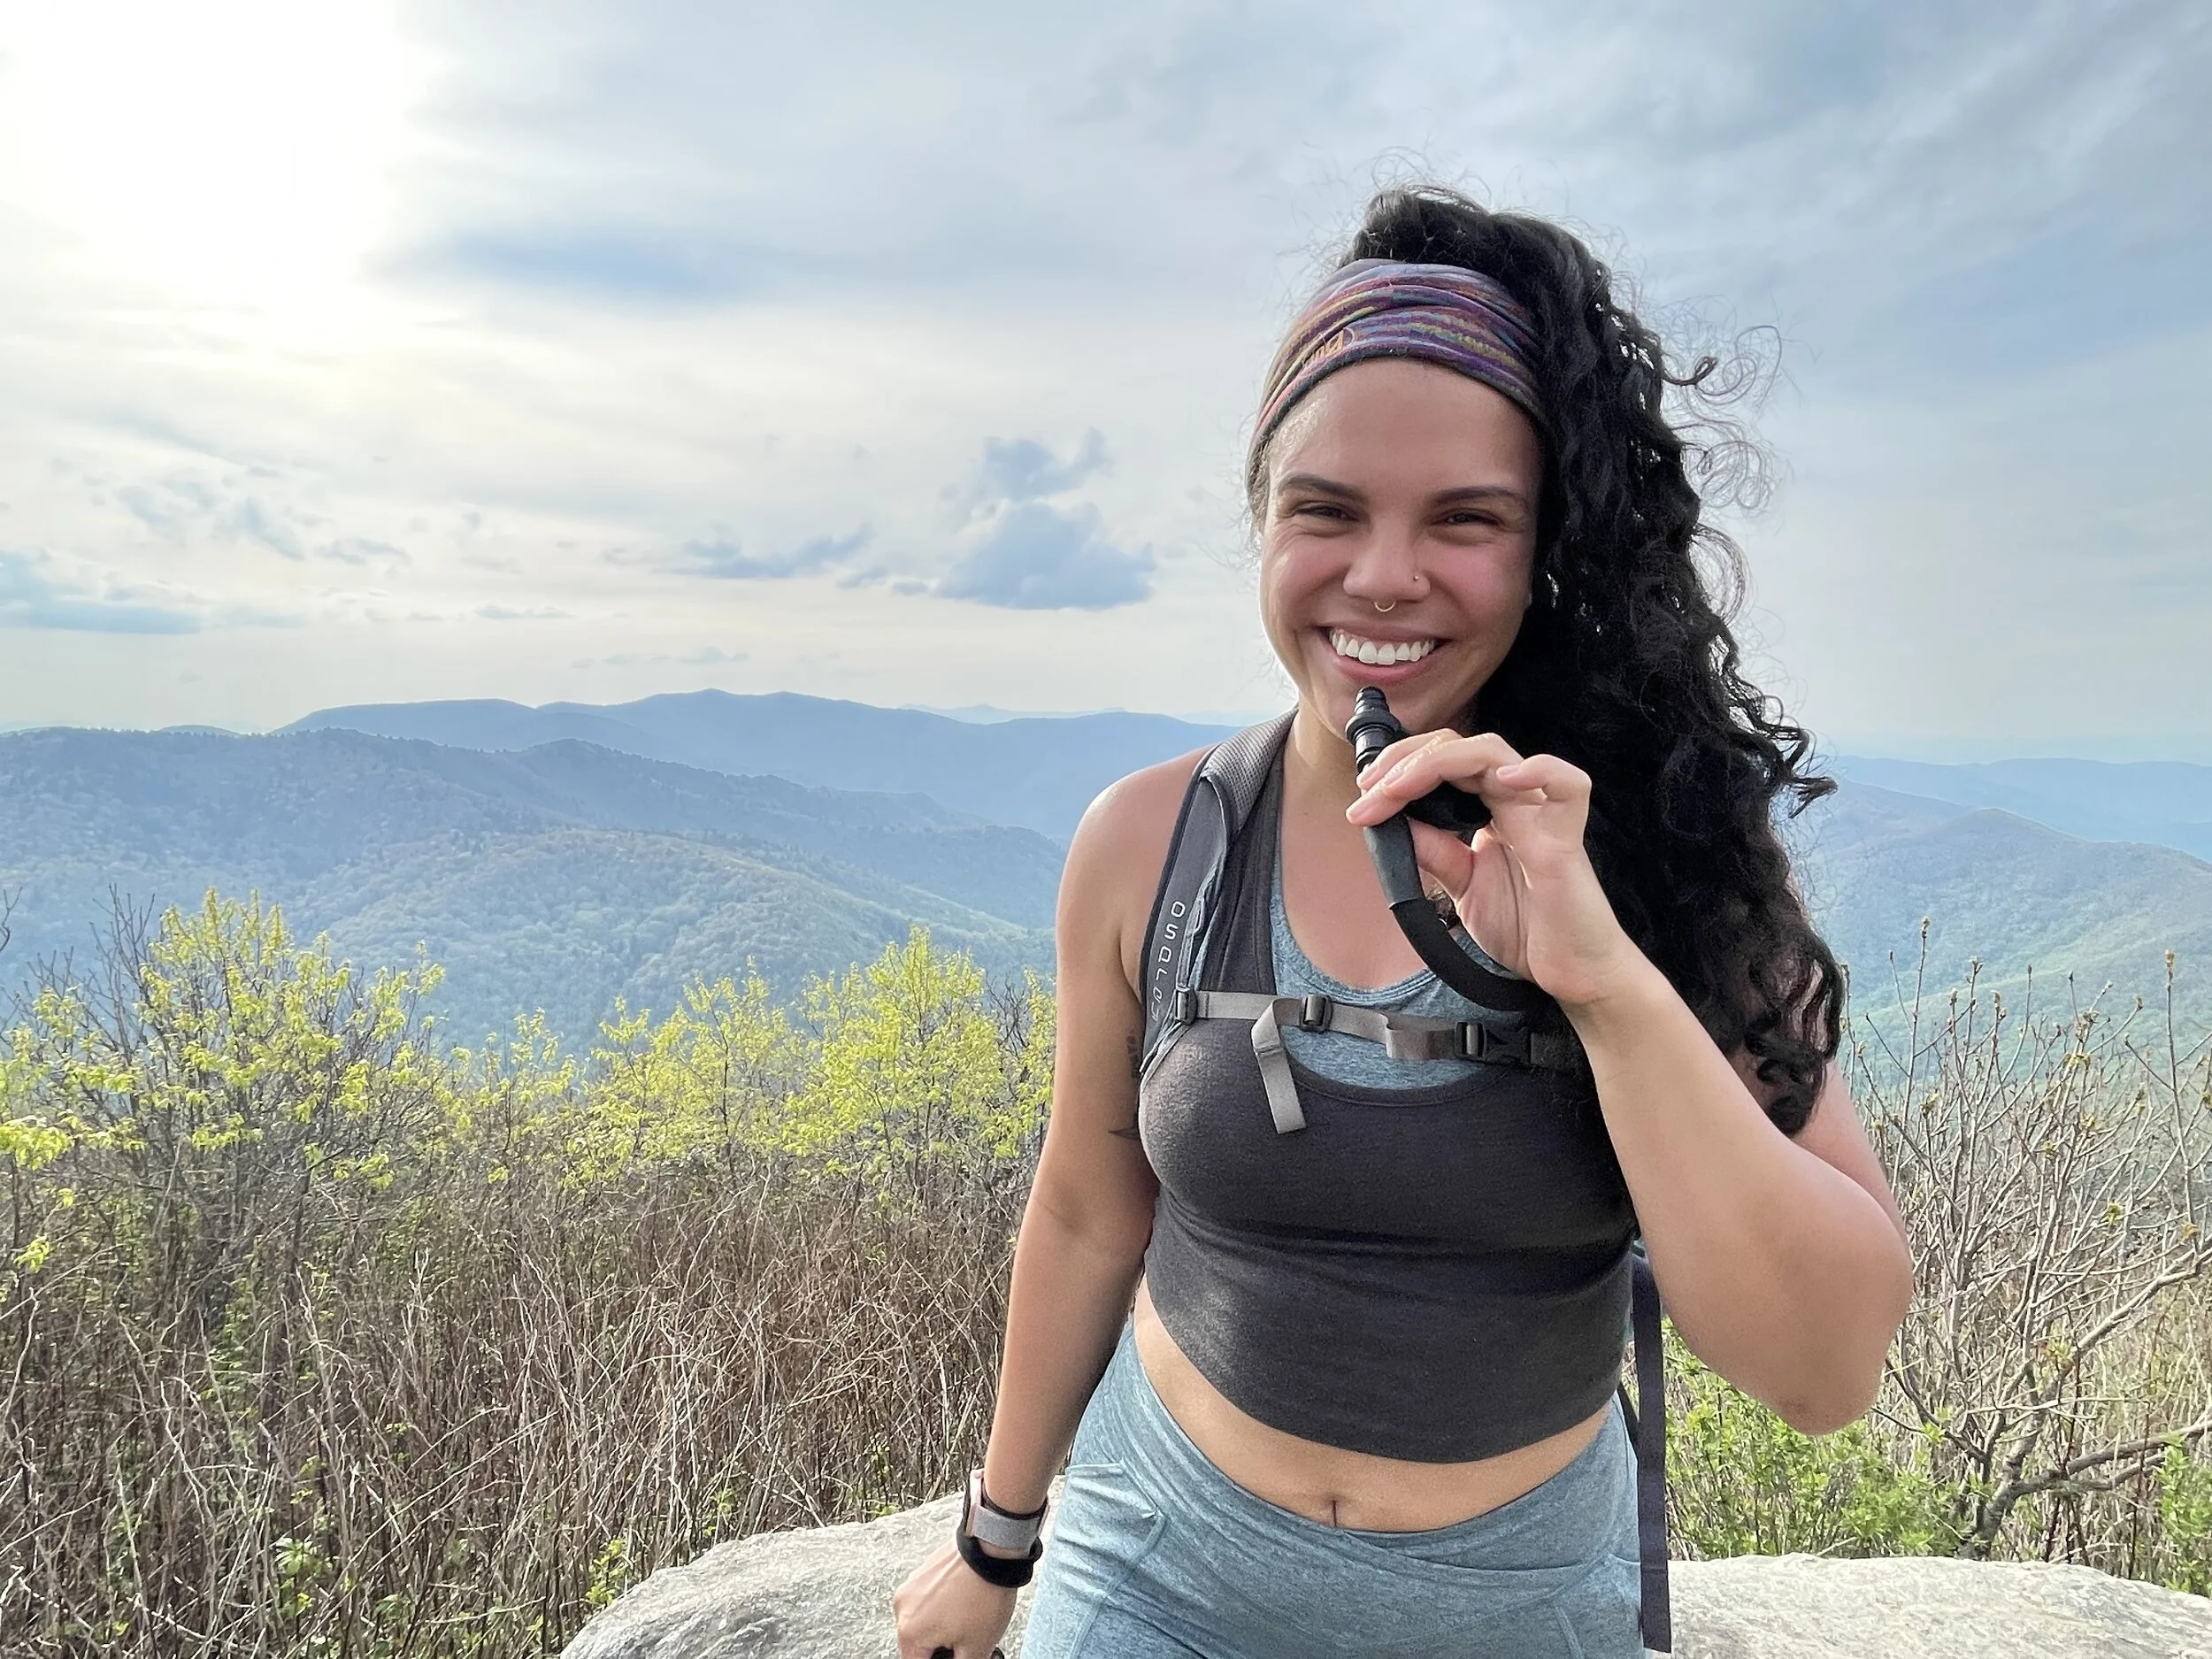
Hydration systems like the one pictured here allow me to hike and drink water without having to pull anything out of my pack. This photo was taken on occupied Eastern Band Cherokee land, in an area known to some as the Shining Rock Wilderness. (Photo courtesy of James Moyer).
Inclement weather protection
Let’s talk about the elements. If it's super sunny you may need to bring extra sunscreen and a hat. If there is a chance of rain, be sure to bring rain gear on the trail with you. Always be sure to check the weather before you go. Will you be hiking in higher elevations? You should be thinking about sudden temperature drops, high winds at elevation, thunder storms and lightning strikes, snow, etc. Are melting snows making your favorite trails more accessible? That’s great, but that water crossing you barely gave a second thought to during trip planning may now have a dangerously fast current. Weather matters! Please check weather conditions before you go and make a smart decision about whether to proceed or delay your trip.
Protect yourself from other people
You never know who you will encounter on the trail. I wish I could be an optimistic and say that everyone is super nice and that is totally safe to be around strangers on the trail but I am an Afro-Indigenous woman in America. I know women like me are targeted in this country, so I bring a knife with me and have it nearby whenever I am backpacking. Additionally, I carry a loud whistle attached to my pack. You may want to bring pepper spray or hike with a buddy as well. There are numerous ways you can protect yourself, I recommend always having something to protect yourself with you at all times.
5. Let's Talk Gear
Sleeping Gear
Sleep is super important! After all, you probably have a full day ahead of you and lots of ground to cover. So what should you bring with you to make your sleep as comfortable as possible? A sleep system is probably your best bet. A sleep system is comprised of a sleeping pad, sleeping bag, and pillow. You can skip the pillow and use a stuff sack with your old clothes if you’d like. You also need to consider shelter.
There are a range of tents and hammocks that serve backpackers in various ways. I carry a Nemo Ultralight two-person tent that weighs less than three lbs. Ultralight products can be super expensive. I seriously recommend doing some research before spending money. A gear lending library is one way to cut down on cost. You can also take a look at various outdoor websites to see which sleep system is best for you. Here is a link from REI to help you pick out a sleeping bag, sleeping pad and a backpacking tent. This is what I have.

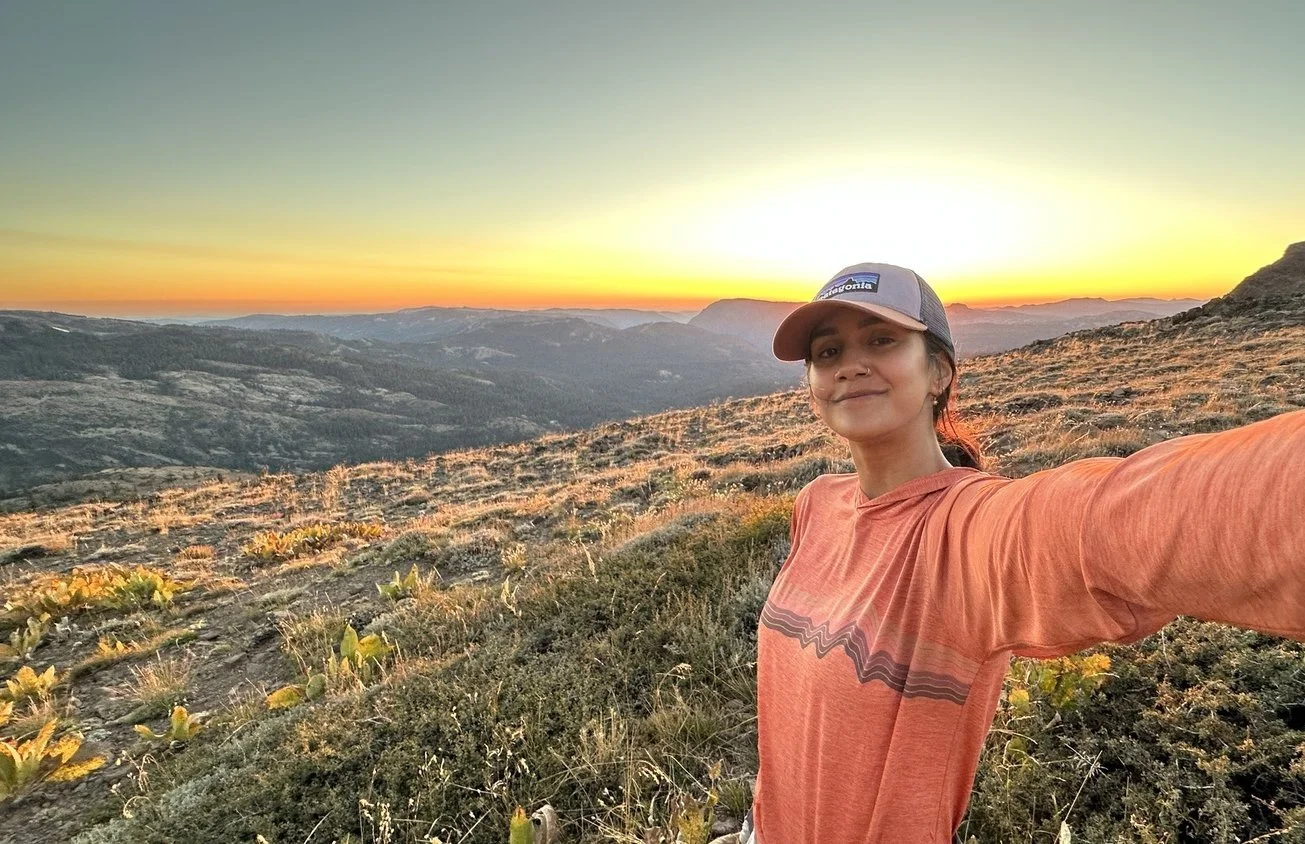
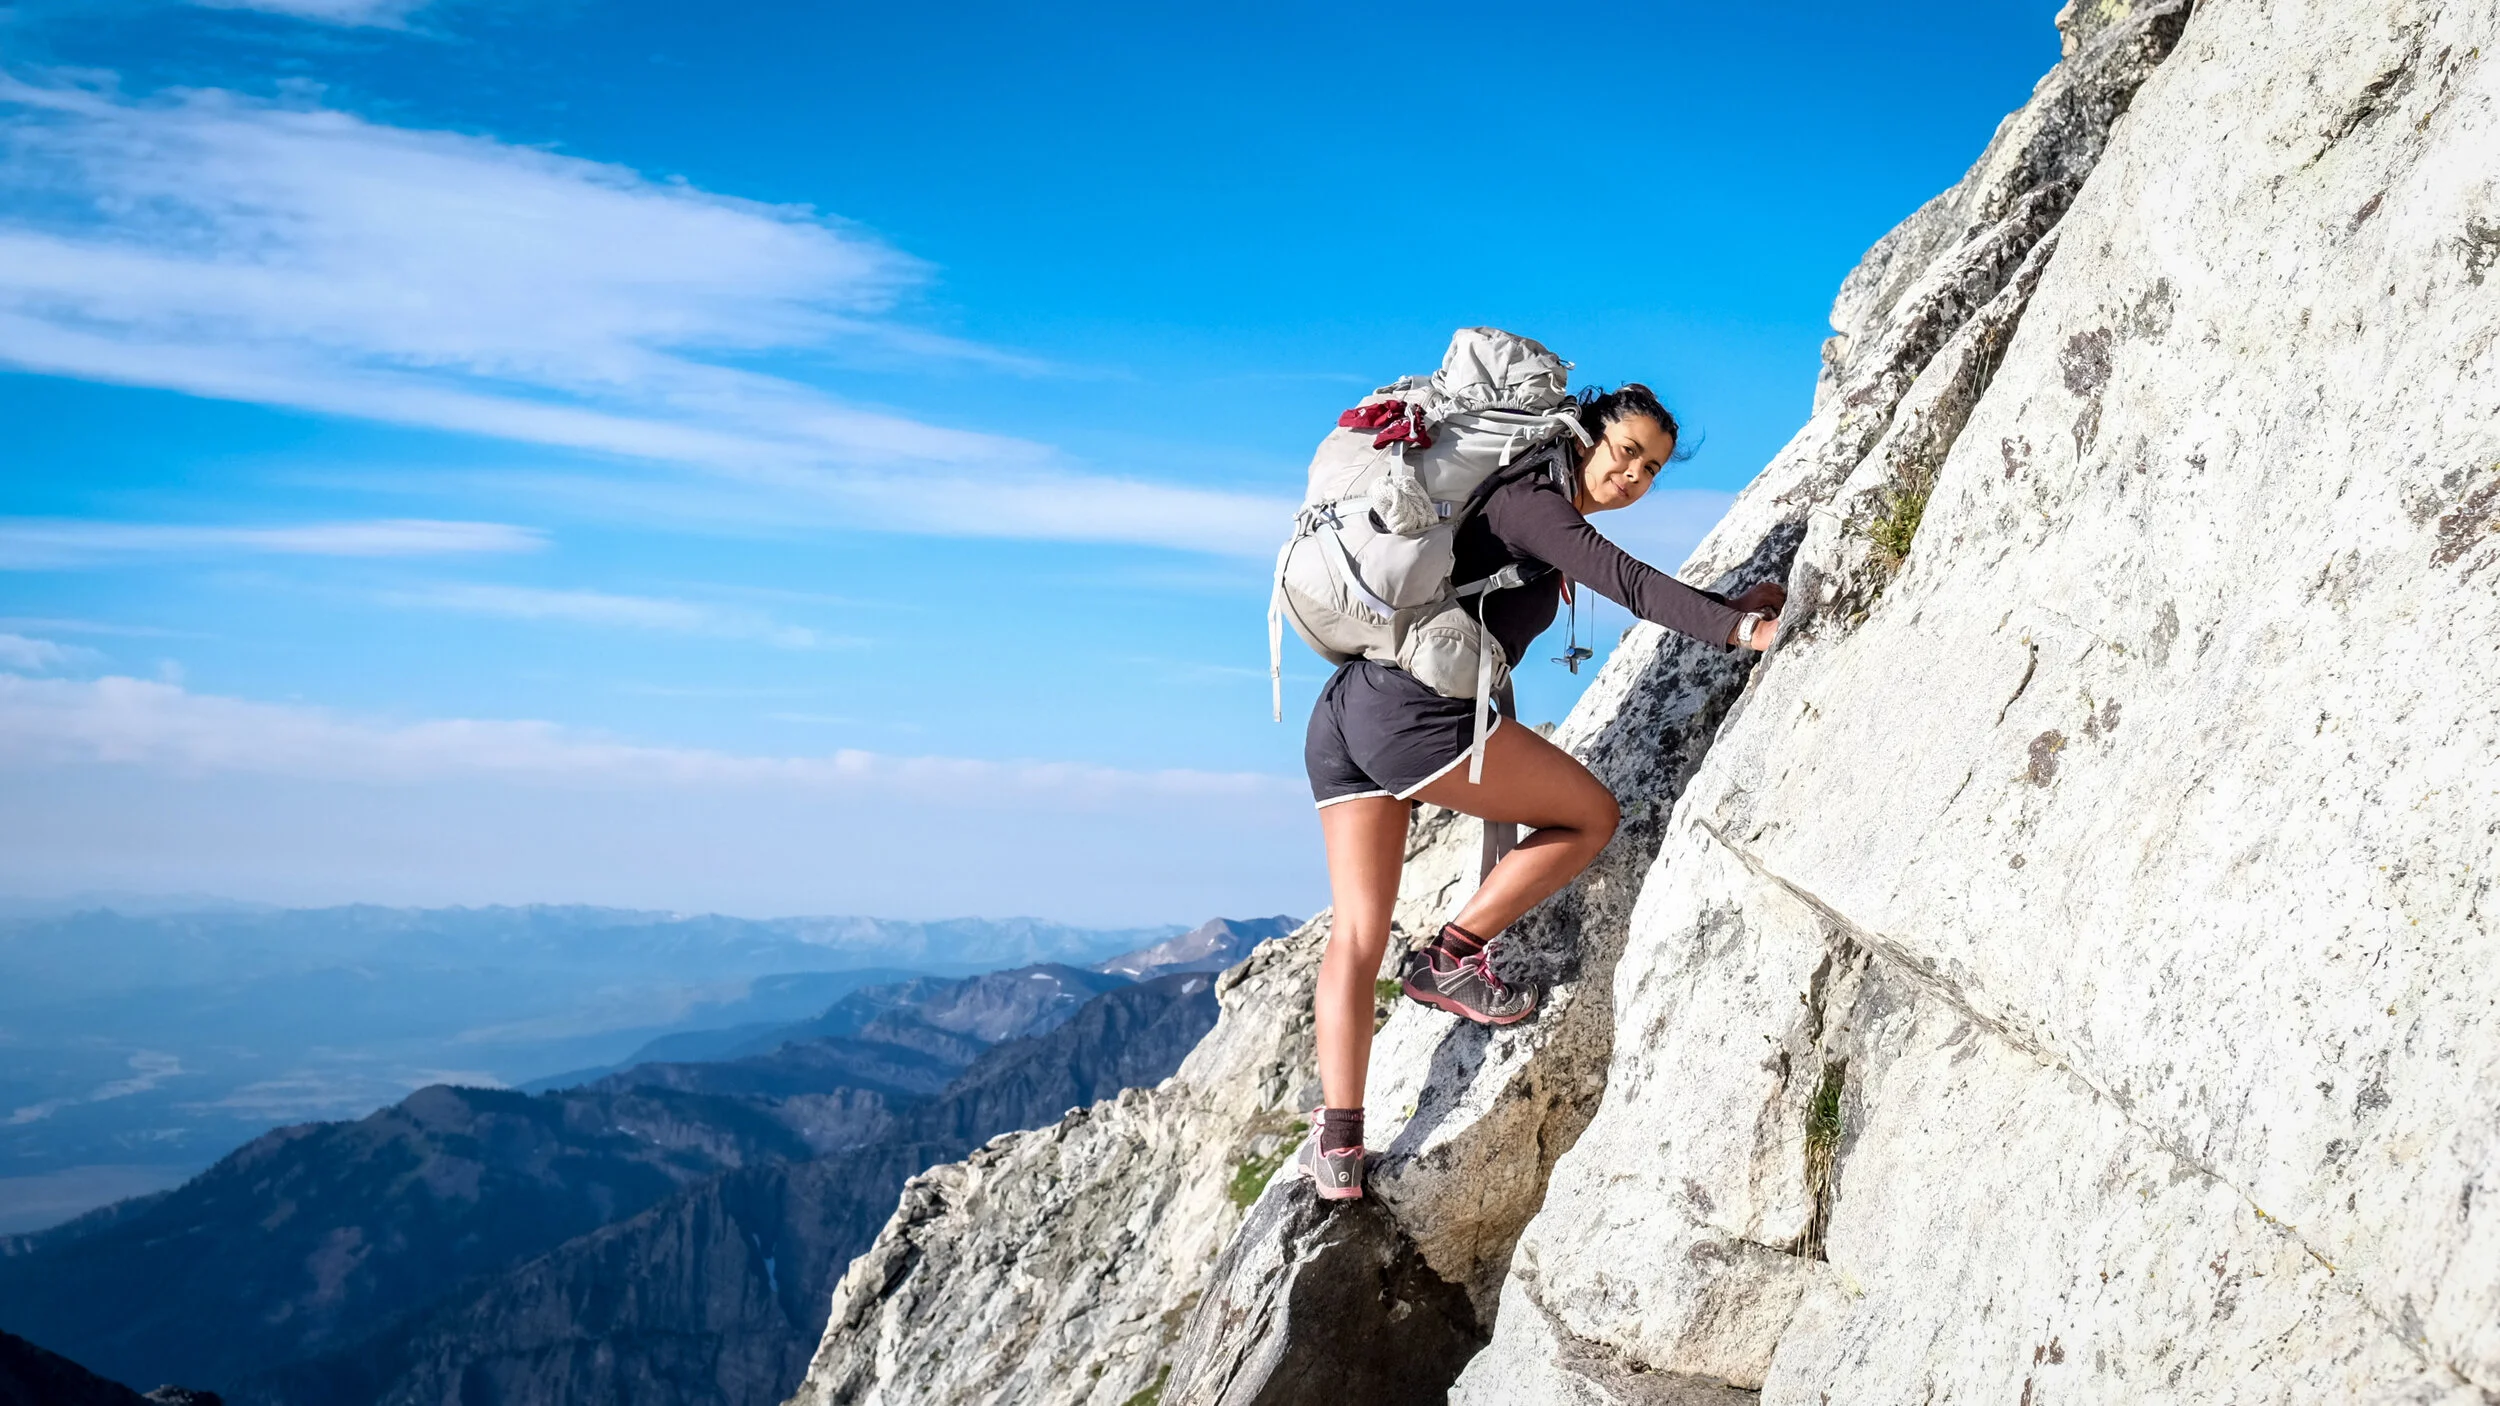
Enjoying the view from Roan Highlands on occupied Eastern Band of Cherokee land. (Photo courtesy of James Moyers).
REI Magma 18 sleeping bag
Nemo Hornet Ultralight Tent- 2P
Eating/ Drinking/ Cooking Supplies
Whenever I pack food for the trail, I do my best to bring nutrient-dense foods that won’t spoil in the heat. If it’s cold outside, I’ll occasionally pack a turkey sandwich or a quesadilla, but for the most part I bring non-perishable foods with me. Most outdoor gear stores sell pre-made packed meals that just require boiled water to cook. There are also plenty of recipes online that show you how to prepare and package your own food. A big thing to remember is whatever you cook, you’re going to have to clean up, so you need to take that into account. I like the just-add-water approach so that I don’t have to worry about cleaning my camp pot. I just pack the garbage out with me. In addition to food, hydration is essential! I carry a 2L Platypus Hydration pack and a 3L Katadyn BeFree Water Filtration System. Not all trails have access to water. If the trail doesn't pass through a water source, I make sure to bring all of my water with me in order to prevent dehydration.
Here are some of the things I use for cooking in the backcountry.
MSR pocket rocket
GSI Outdoors Microdualist Camp Set
Platypus Hydration Bladder
Katadyn BeFree Water Filtration System

Photo taken by Laura Phillips
Heavy Duty Matches (Bring two sets)
Supplies to stay clean
We all pee and poop. That is how the human body works. It’s important to prepare for when you have to relieve yourself in the outdoors. Click on this link to see the “Leave No Trace” Guidelines for waste disposal. Normally I bring two Ziploc bags, one with all my toilet paper, butt wipes, and sanitizer, and one to put my used toilet tissue in. I also carry bath wipes with me. In order to minimize waste, I bring a pee cloth with me. It’s one way to use less toiler paper on the trail. Some people use bandanas; personally I like to use my Kula cloth—it’s a little more sanitary for wiping urine. Lastly be sure to consider other supplies to help you feel refreshed on the trail, like a toothbrush, toothpaste, deodorant, etc.
Lighting and Energy
I always bring a power bank with me whenever I am hiking so that I can keep my phone and watch charged overnight. It’s important to bring lighting with you, so that you can see where you are going once it gets dark. It’s also important for safety reasons. I bring a headlamp with me as well as an inflatable solar powered light. My headlamp has a red light setting which is super nice, because it allows me to see in the dark ruining my night vision or being swarmed by insects. My inflatable lamp changes colors, which gives my tent a nice ambiance while I am sleeping. This is what I use for lighting. Click on this link to see my official MBC review for my headlamp.
Miscellaneous things you never knew you needed
There are other random items that you won’t miss until you leave them at home. For example, Duct tape is useful for leaking tents, broken items and for improvising. . I also always bring a small microfiber towel to dry off with if I take a dip in a stream. One way to make sure you don’t leave an essential item behind is to read blogposts from people who have traveled to the same area.
Click on this link for a backpacking checklist from REI.
6. Weight and space
Now that we have considered all of our essential items, it’s time to think about weight and space. Even things as light as 10 ounces can make a huge difference when you are carrying it on your back for multiple days. I am not an ultralight backpacker by any means, but I do try to keep my pack as light as possible. One of the ways I do so is by getting the lightest gear possible. My tent weighs just over two pounds and my sleeping system is also pretty lightweight. I also have a super lightweight camp stove, propane can, and cookware. I keep the weight of certain key items as low as possible so that if I have to carry additional water or any other heavier items, my pack doesn’t become unbearably heavy.
Backpack
Once you’ve acquired all of your supplies to go backpacking, you’re going to need something to put them in. REI has several great articles that discuss what to consider when buying a backpack. These backpacks are really expensive so I definitely recommend testing them in store before you buy. Yes, you can do this! REI also has a one-year return policy if you are a co-op member, so if you take your pack out on a hike and realize you don’t like it, you can return it for a full refund as long as you do it within a year of purchase. For a full range of options for purchasing, borrowing, or thrifting gear, check out A Broke Girl’s Guide to Getting Gear.
My current backpack is the Osprey Ariel AG 65. I find it to be super comfortable. This is my second Osprey Ariel AG, my first one was a 55L pack. Here are links to a few articles from REI to assist you in choosing your backpack.
https://www.rei.com/learn/expert-advice/backpack.html
https://www.rei.com/learn/expert-advice/loading-backpack.html
7. Practice carrying your pack
Carrying a heavy backpack across miles of rough terrain can be pretty tough on the body. I recommend taking time to practice. Go on a day hike with a heavy pack. See how far you can walk comfortably while carrying heavy items, then build up your endurance from there. I practiced hiking with heavier packs before going on my first backpacking trip. You also want to practice loading your pack. A backpack is designed to keep heavier items close to your core so that the weight isn’t completely on your hips or shoulders. The bottom of the pack is meant for things you do not need access to immediately on the trail, for example: sleeping bag and tent. Practice loading items you’ll want easy access to at the top of the pack. Practice packing and unpacking and figure out what works for you. Then use that method while backpacking on the trail.
8. Make your first backpacking trip a fun experience
Don’t overdo it your first time out. I recommend selecting an easier trail for your first backpacking experience. Take a look at the trail maps, blogs and reviews and choose a single day hike with an overnight. Ideally, pick a trail that is short enough so that if you change your mind and want to go home you can do so. I wouldn’t attempt anything too strenuous (e.g. - elevation gains of several hundred feet) for your first time. The goal should be to accustom yourself to your gear along with the other nuances of backpacking. My first backpacking trip was a river hike. This ended up being very convenient because I was close to a water source and the hike was relatively level the entire time.
9. If you accidentally walk off the trail, it’s okay. Take a deep breath and retrace your steps
One of the scariest feelings is when you have come off trail and realize you are nowhere near where you are supposed to be. If that happens, take a deep breath, remember your skills and retrace your steps. That will normally get you back on the trail. One of the things I do when backpacking, is constantly look for landmarks while hiking, that way I know what to look for while I am making it back to the trail.
10. Be proud of yourself!
Remember this...going into a remote wilderness area and keeping yourself alive is quite impressive. It takes so much courage to even consider backpacking. So you should be proud of yourself. Backpacking isn’t easy and there is a lot to consider before making your first trip into the backcountry. I recommend going with an experienced backpacker your first time or taking a beginner backpacking course, but that isn’t always feasible. If you take your time and do your research, your first backpacking trip should end up being quite amazing. Remember our bodies evolved in nature and are built to be on the trail. I believe in you.


After three years and 8,000 miles, Elsye “Chardonnay” Walker reached the summit of Mount Katahdin, becoming the first Black hiker of any gender to complete a Triple Crown.