Stronger Shoulders with Just One Exercise

Pop! The first time I dislocated my shoulder was in college when I bent over to pick up a light weight. Little did I know then, I have a connective tissue disorder which makes it easy for me to dislocate joints. Once I started climbing, I began to dislocate both shoulders regularly and was forced to learn how to put my shoulders back in place. One day, I stumbled upon one exercise that changed my life and I haven’t dislocated a shoulder in years.
The magic exercise is called IYTs and it’s really simple. All you have to do is form the letters I, Y, and T with your arms. It’s sort of like doing the YMCA dance! The beauty of this exercise is that it can be done in so many ways: with body weight, extra weight, bands, rings, and more!! IYTs strengthen your rotator cuffs, the tiny little muscles and tendons that keep your arm in the shoulder joint. Here are five different ways to do IYTs. For all of these, remember to use VERY light weights. I like to use one pound to 2.5 pound weights.
Bench IYTs
You should try this way first, without weight. It’s a great introduction to IYTs. After a shoulder injury, this is the exercise I always start with. Lie down on a bench or a bed with your arms dangling off. Raise your arms to near ear height and make the shape of an I. Next, lower your arms. Repeat to form a Y and a T. You can add weight to these, once you are feeling strong. Remember to keep it light!
To make these harder, you can use an exercise ball instead of a bench!
Reverse IYTs
While standing, bend approximately 45 degrees at the waist and lift your arms forming an I. Bring your arms back down to form an Y and repeat to form a T.
Standing IYTs in Rings
I love using Rings or TRX to do IYTs. You can really control the difficulty by adjusting the angle. Stand with your feet in front of you and pull yourself up, positioning your arms in the IY and T position.
Band IYTs
These are also great because you can adjust the intensity by using bands of varying thickness. The thicker the band, the harder it is!
Forward IYTs in Rings
These are my favorite because they work your shoulders and your abs!! It’s a pretty good full body work-out. The closer you lower the rings to the ground, the harder it gets!!
Let me know how these exercises work for you!!
Working full time with a toddler, five cats and a dog didn’t leave me much time to learn a new skill. So I hired a painter, but when he didn’t show up and the welders were starting in three days. I quickly took a crash course on painting. This is what I learned.
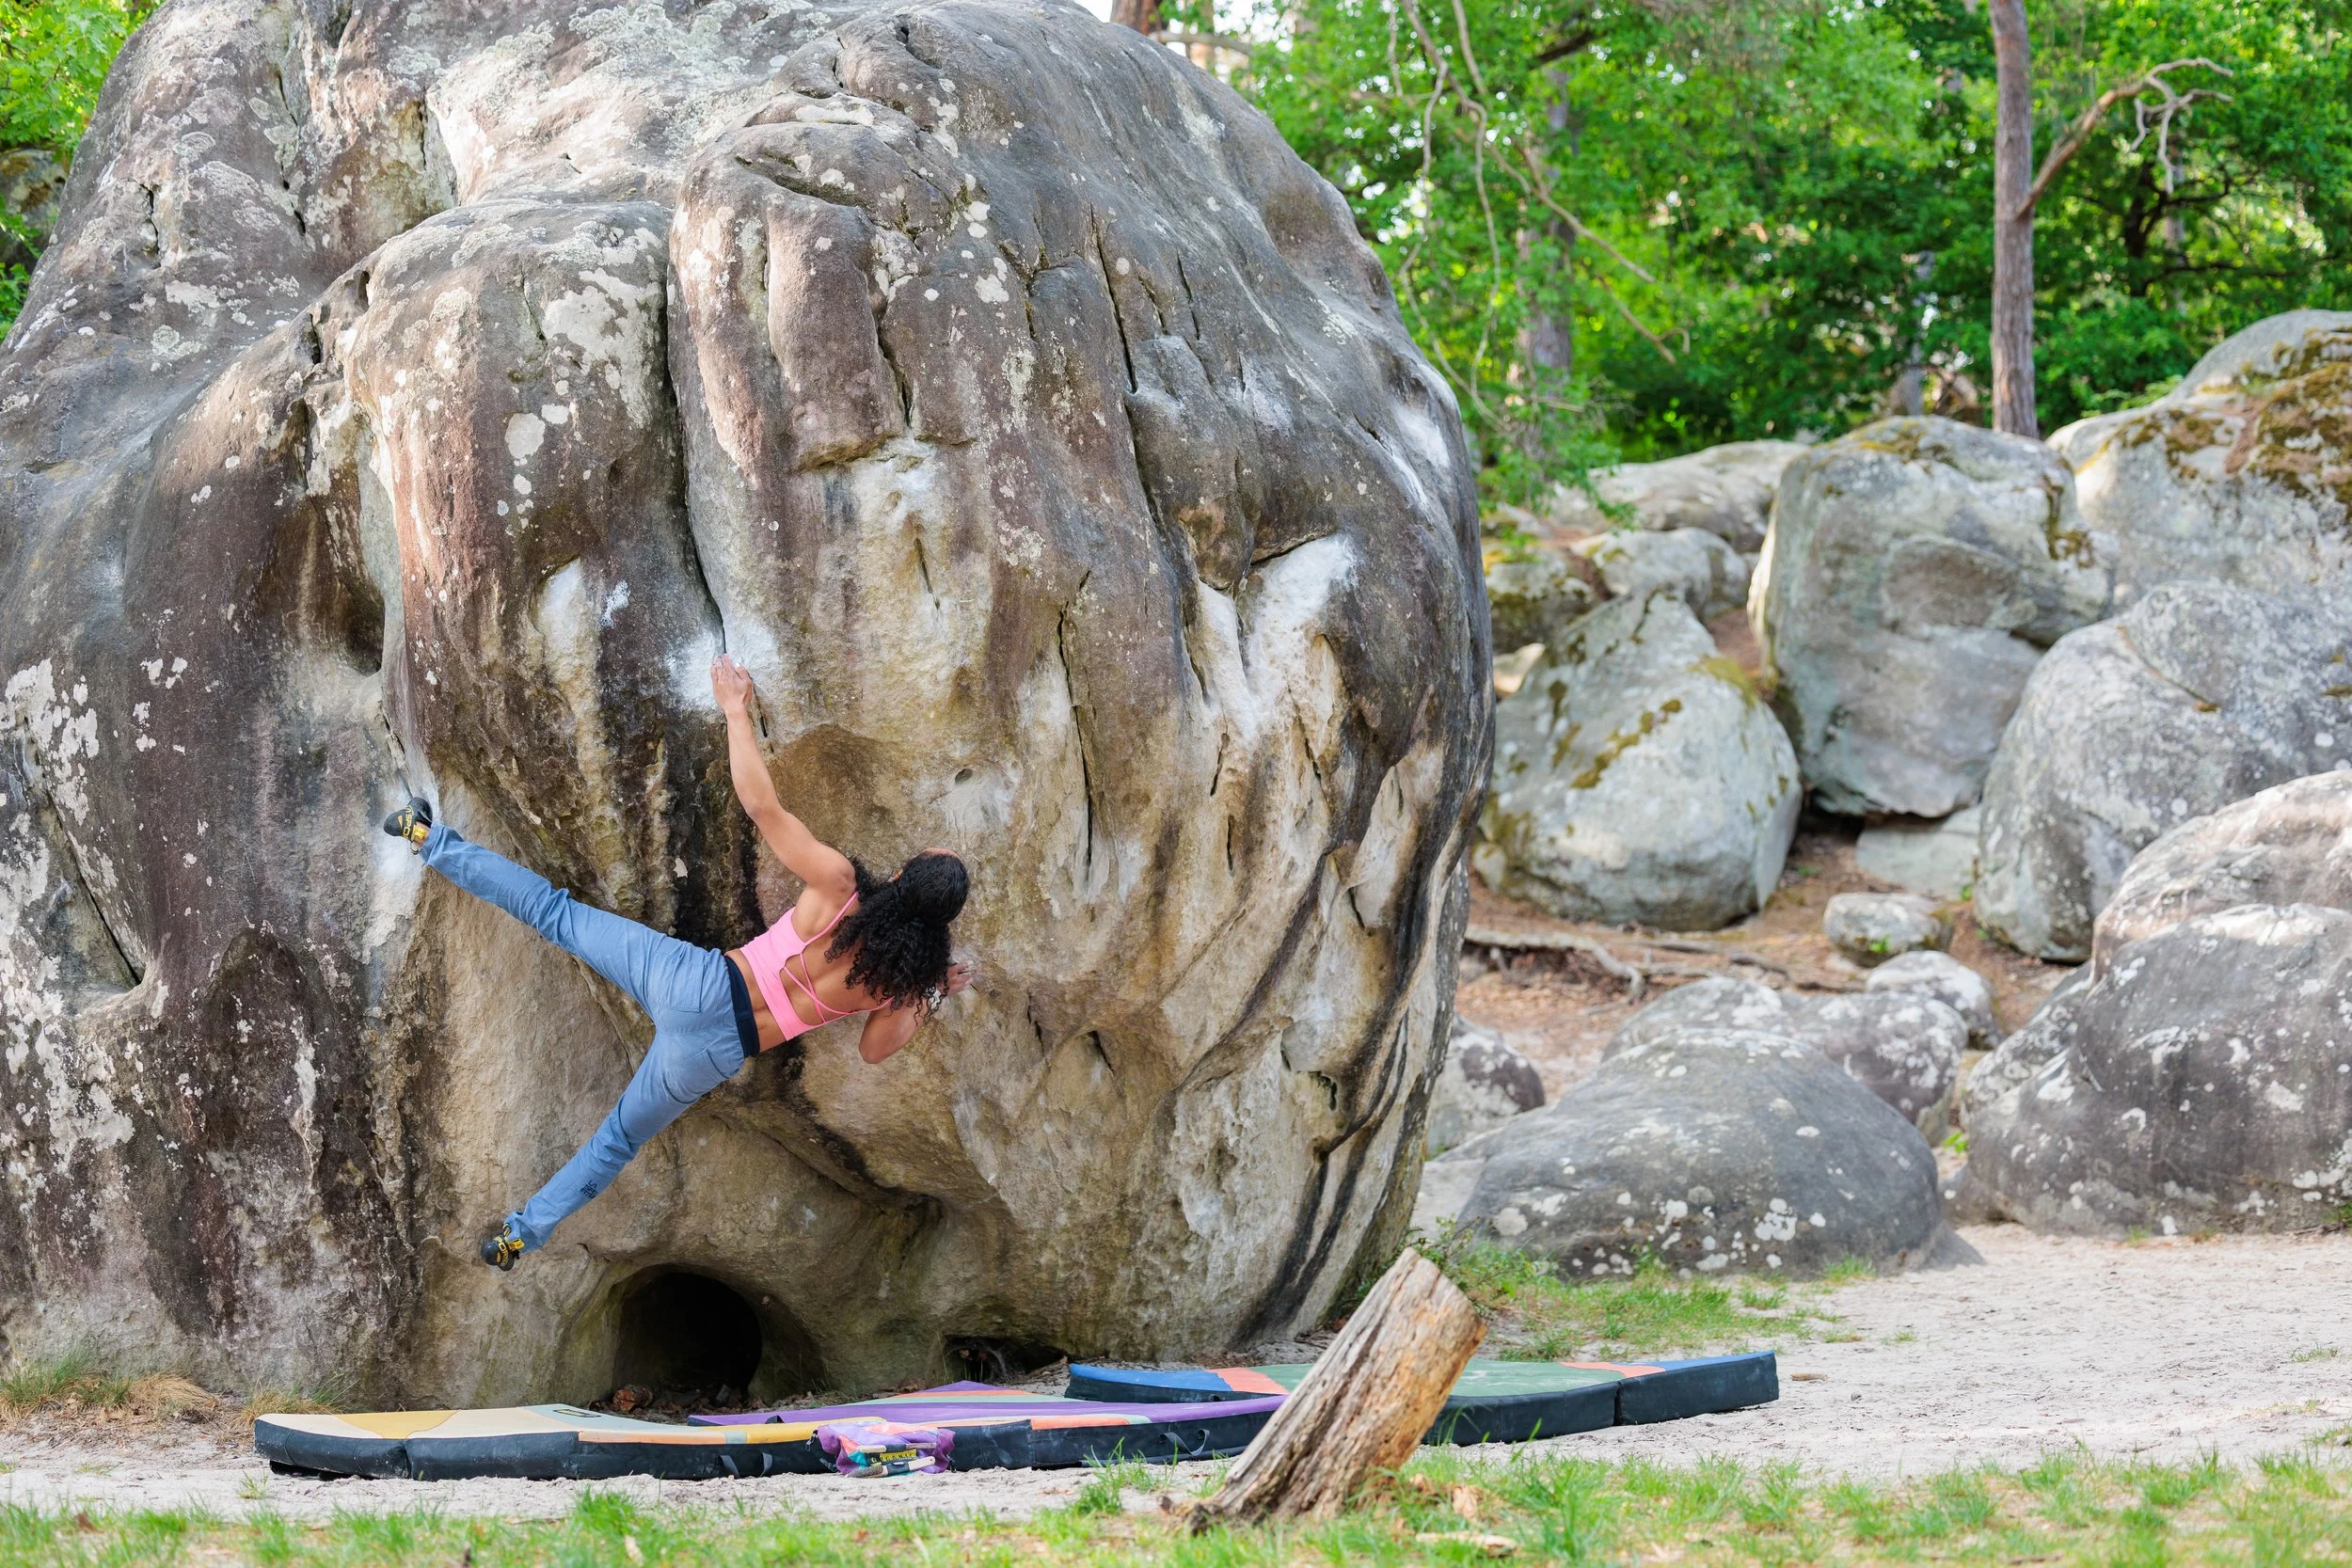
I was recently lucky enough to make my first voyage to one of the top climbing destinations in the world: Fontainebleau—or Font. For most of my climbing career, I’d heard stories about the beautiful sandstone boulders and the flat, sandy landings. I knew I had to experience it for myself one day.
But planning a climbing trip to a foreign country can feel overwhelming and even a little scary, especially if it’s your first time. To help make your experience smoother and more enjoyable, here are some tips I picked up along the way.
I’ve been seeing chiros since I was 12 to help manage my Ehler-Danlos syndrome, a hypermobility disorder that makes me more susceptible to injury and joint dislocations. They have been a life saver for me and the only reason I’ve been able to maintain my athletic abilities. Since I’ve moved quite a bit over the past 25 years, I’ve had to regularly find a new chiropractor. Here are a few tips to help you find the best chiropractor for you.
Recently, there was a good weather window at Hueco Tanks- some cool weather in April. I really wanted to take advantage of this so I decided that my nearly 2 year old son, Hans Sven would join me! It would be our first mother-son trip. My husband was nervous to be separated from him, and wondered how would I keep him safe while climbing and hiking. Not afraid of a challenge, I made a plan and was excited to show Hans Sven my favorite place in the entire world!
This fall, I planned a trip to Hueco for a friend’s first outdoor climbing trip. We were all very excited. We drove to the park and at the ranger station, there was a sign out front- “NO CLIMBING TODAY.” We were devastated.
So, what were going to do?? Luckily I remembered, 8 years earlier that I climbed a cool cave in Las Cruces, New Mexico. I told everyone, No need to despair, onto Las Cruces we go!
A major benefit of being a boulderer is that you have the freedom to do it anytime you want. But it can be intimidating to be out in nature alone and it’s inherently risker than climbing with others. I have five tips to make it safer, so you can keep on sending!
Hiking used to be a solo activity but now, my son has started joining me and my dog Merle on our outdoor adventures! At 15 months, he can hike in the desert terrain for 30 minutes on his own! But it didn’t start out that way.
“What do I wear?” is the most common question I get asked by new climbers going to the gym.
Now that I’m exactly six months post-op from lower back spinal fusion surgery, my workouts are shifting. Initially, I stuck to body weight and light weight resistance to keep pressure off the bone. Now, I’m finally getting back to heavier weights and more of my pre-surgery workouts. So with that my series on spinal fusion recovery comes to end! But don’t despair, I have a few last exercises to share!
Now, I’m nearly four months post-op from lower back spinal fusion surgery. Sneezing stills hurt a ton, but I’ve started climbing again and taking small falls. And of course, I’m still on that rehab train!! One of the best exercise progressions I’ve done so far are squats. Here are five variations of squats that have proven useful for my recovery.
In 2019, I suffered a devastating spinal injury that left me with weak noodles for legs. In November 2023, I finally bit the bullet and had surgery. The road to recovery has been difficult. I’m going to share my first progression of rehab exercises—hip bridges. Remember, only try these if you’ve been cleared by your doctor and physical therapist.
Climbers are known to have rough skin and calluses. But when I shake people’s hands, they’re often surprised at how relatively soft they are. My soft skin is still tough skin; I can climb outside five days a week with no pain and no flappers!! Here are some tips I’ve picked up over the years to maintain my tough skin.
The BFL Combine is hands down the most unique climbing competition out there. Half weight lifting and half climbing, it is based on the NFL and NBA combines, where athletes showcase their athletic and mental skills to pro scouts. The BFL Combine started in 2021, and has attracted world class climbers, including Natalia Grossman, Zach Galla, and Drew Ruana.
When you start your climbing journey, there is an overwhelming amount of information to learn! You have to learn safety, new lingo, new muscle use, new movement and more. One of the critical pieces of being a successful climber is understanding the hold types. Knowing the names and how to use different types of hold will help you read the climb before you hop on it and will help you communicate to other climbers. In this post, I go over the basic hold types.
You may see climbing boards in your gym or while scrolling on Instagram and wonder, “What’s all the rage?” Or you may think, “Those board are only for the pros!” Well, I’m here to tell you board climbing can be for everyone and it’s great for training and measuring progress.
I have cysts in my wrists, ganglion cysts to be exact. My coach at Lattice Training suggested four exercises to strengthen my wrists. I was a bit skeptical that they would make a huge difference, but after one week, I was back on crimps!!
The transition from indoor bouldering to outdoor bouldering can be daunting. What do I wear? What gear do I bring? How will I find the boulders? Most climber’s first outdoor climbing experiences usually make funny stories down the road. However, some stories end with a trip to the hospital or a call to mountain rescue. I’ve listed 8 essentials to make your first climbing trip a safe and happy one!
I dreamt of climbing in Albarracin for years, and this October, I was finally able to go. Let me tell you, it did not disappoint. If you are looking for a variety of climbing with short approaches that is five minutes away from the most adorable town, then Albarracin is the place for you!!
Welcome to the final installment of my push-up seriesl These exercises are going to be more advanced than Part 1 and Part 2, where I go over beginner and intermediate push-up variations. Get ready to feel the burn all over!!
If there’s another muscle group you’d like to see a series on, please let me know in the comments!


Building a home gym is a monumental task! Once the climbing wall is built, you’d think the biggest hurdle is over. But a safe landing area is just as important, and can be just as overwhelming. There are many options for foam and foam coverings, making it difficult to know which is right for a climbing wall. I spent weeks reading about foam, cold-calling foam companies, and driving around to different fabric stores learning about vinyl coverings. Here is my journey of building a safe landing!